How to demo the quadcopter
Follow this How-To to get the quadcopter up and running in Coover 3050.
Table of Contents
Setup Infrared Camera System
-
To start up the camera system, log into the camera system computer (co3050-07) with the following username and password:
username:
camera
password:camera -
Once the OS is done loading, start up the program "Tracking Tools from the desktop".
-
From the startup window, choose "Open existing project"
-
From
D:\TrackingToolsData\FromLaptopchoose "TrackingToolsProject 2017-04-24 3.28pm" in the "Optitrack_Configuration" folder -
Then go to File -> Open and choose "Microcart.tra" in the same folder
- This should create a "UAV" under "Trackables" in the Project Explorer on the left side of the screen
- Now you should be able to move the quadcopter trackable around in the tracking area, and see it update in real-time on the screen.
Setup Ground Station
On the ground station computer (Co3050-microcart), log in with the following credentials.
username: ucart
password: microcart
Navigate to the ground station folder in a Terminal.
$ cdsenior
BackEnd  Cli  logs  Makefile  obj  README.md  src  ucart.socket (or something like that)
If this is the first time using the ground station after cloning, you need to make VRPN.
From the groundStation folder:
make vrpnTo make the actual ground station program, e.g. if there have been any changes, run make from the groundStation folder.
Setup Transmitter
The RC transmitter is used to manually control the quad.
- Ensure the transmitter has the following state before turning it on:
- "Gear" is set to 0
- "Flap" is set to 1
- Throttle is set to the lowest position
- Turn on the transmitter.
Copy Boot Image
To obtain an SD card image, navigate to the desired tag in GitLab (team_17-16_demo) and download the desired boot image. Copy it to an SD card, and rename it to BOOT.bin, which is the default filename for the Zybo to boot from.
Setup Quadcopter
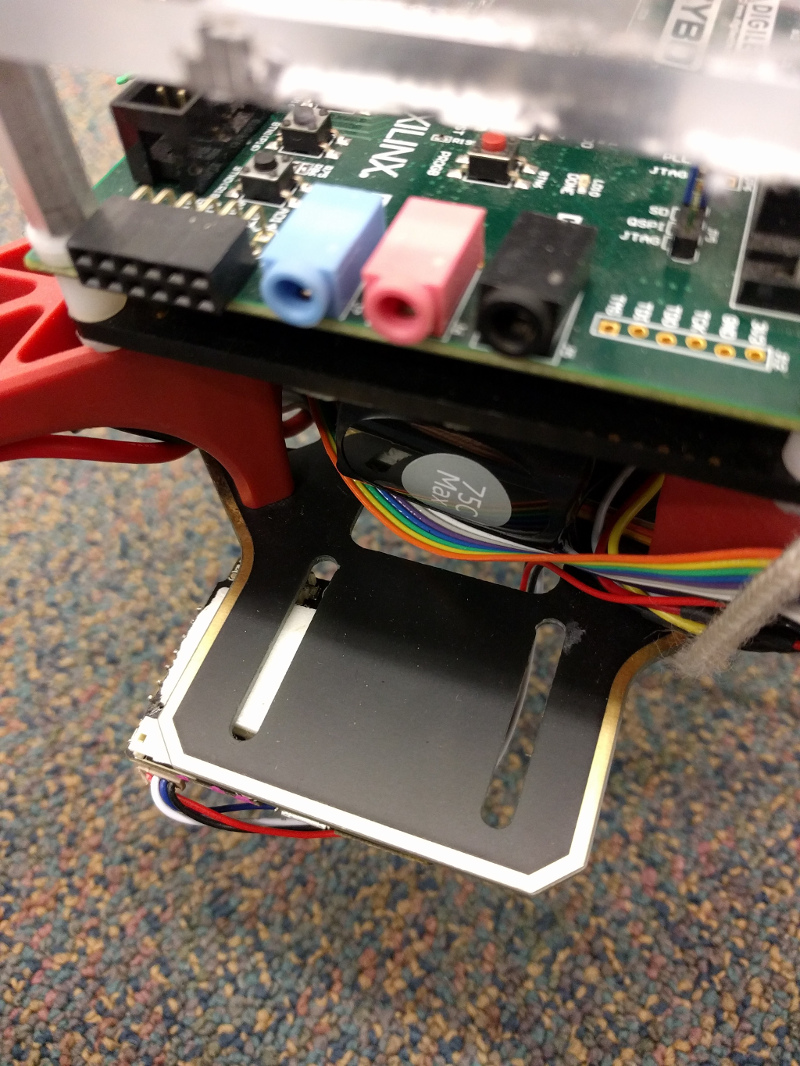
First, insert a fully charged battery with a monitor connected. The best policy is to always keep a battery monitor plugged in to prevent the battery from discharging too far.
-
Make sure the connection to the motors (red Deans connector) from the main power line is disconnected.
-
Insert the Li-Po battery into the holder beneath the quad, and plug it into the quad. See the image below to know how far back to place it.
-
Tether the quadcopter down so it cannot hit the ceiling or valuable people.
-
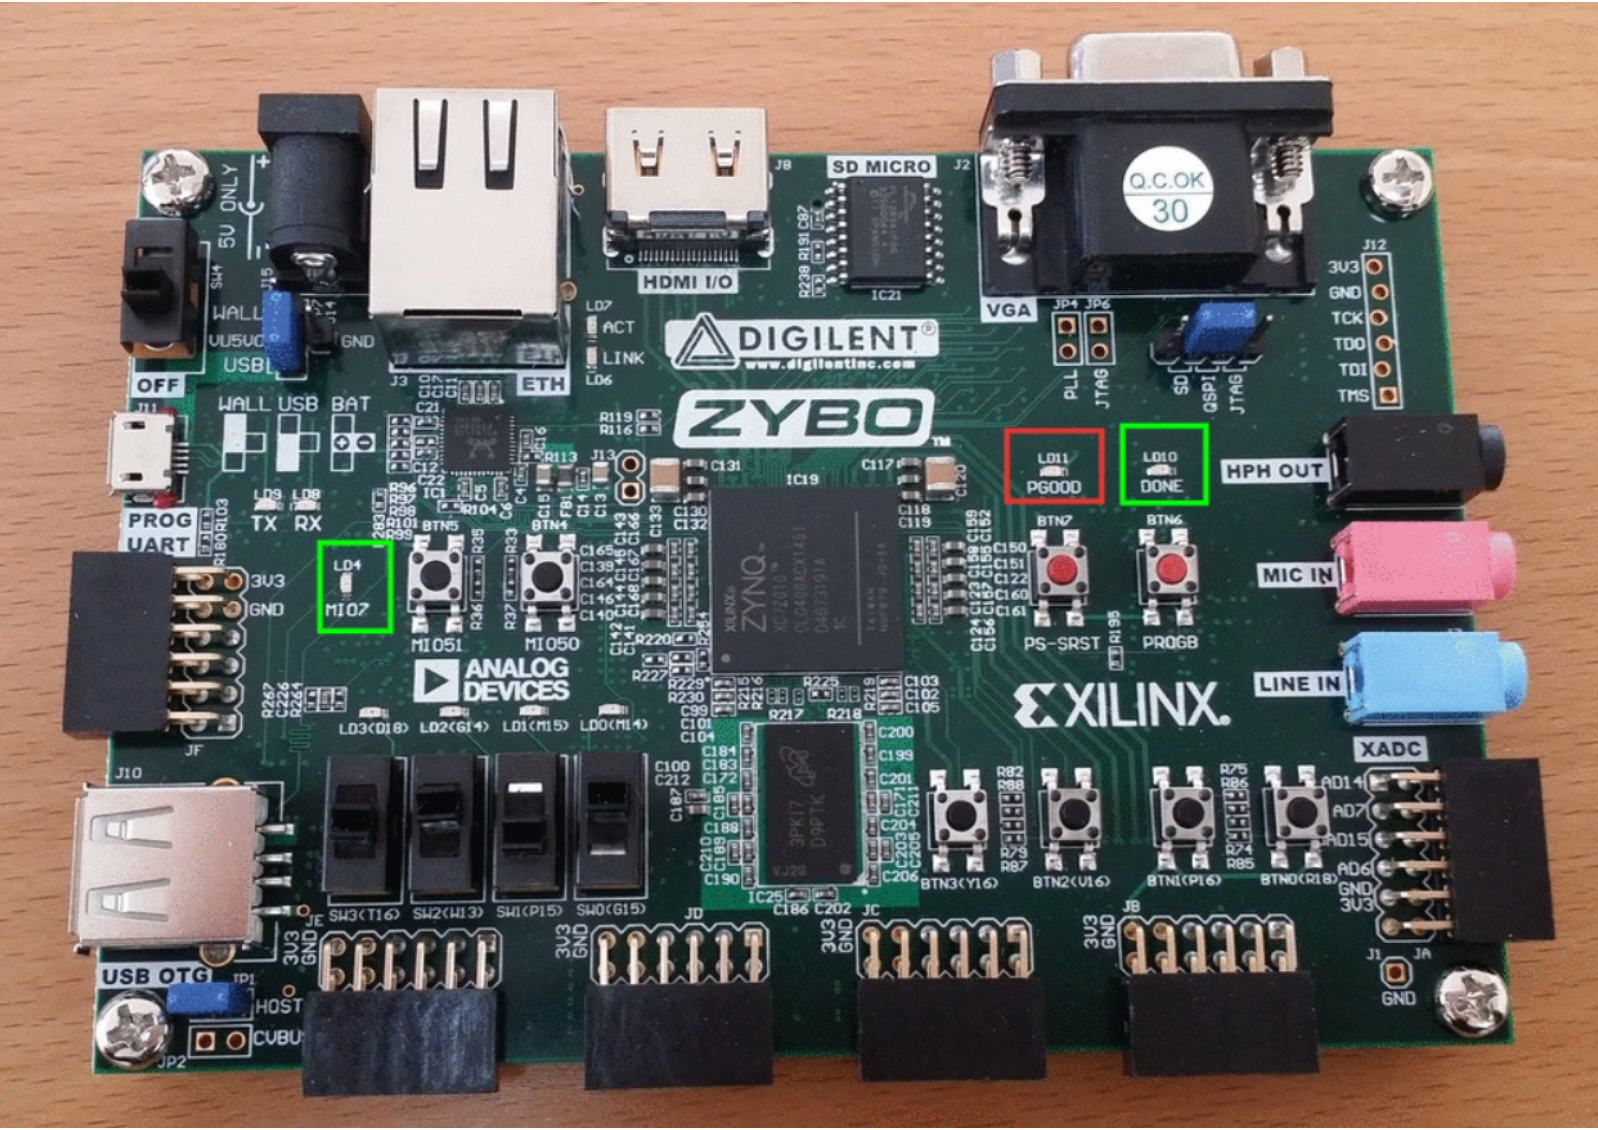
Turn on the Zybo Board using the switch.
- The "PGOOD" Light should turn red.
- After the program has been completely loaded, the green DONE LED should turn on.
-
NOTE: The I2C devices do not get turned off when the Zybo switch is turned off, so to reboot, it is necessary to completely disconnect the battery, in addition to turning off the Zybo board switch.
-
Ensure the quad and transmitter have connected successfully.
- The RC transmitter should have GAUI 330X selected and displayed on the screen. With the quad and transmitter on, the unit on the quad labeled Spektrum AR610 should have a blinking orange light or solid orange light (We don't know the difference, but the both seem to work?). If this is not blinking or solid, try restarting the quad and transmitter with the transmitter closer to the quad.
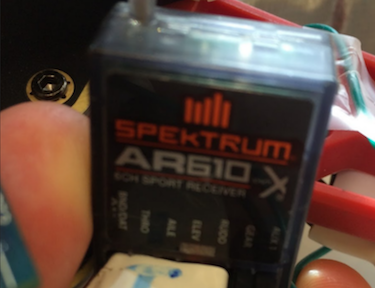
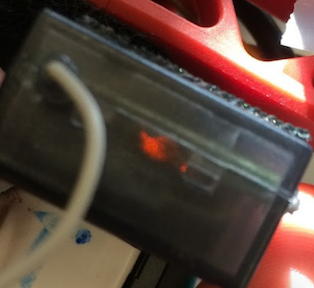
- The RC transmitter should have GAUI 330X selected and displayed on the screen. With the quad and transmitter on, the unit on the quad labeled Spektrum AR610 should have a blinking orange light or solid orange light (We don't know the difference, but the both seem to work?). If this is not blinking or solid, try restarting the quad and transmitter with the transmitter closer to the quad.
-
Plug connect the motors to the main power line.
Connect to Quad WiFi
The quadcopter creates its own access point, called "MicroCART", with password "m1cr0cart". Be sure to be connected to this before trying to connect to the quadcopter.
Start the Ground Station (GUI)
Execute the following on the ground station from the root of the groundStation folder.
In one terminal, run the backend:
./GroundStationThen hit "Start" At the top of the log window, you should see:
connection successful!```
To verify that the quadcopter software is running and responding to packets, go to the "Controller Graph" tab and hit "Refresh Controller Graph". The current graph will show up.
## Flight
1. Using the transmitter, flip the "Gear" switch to 1.
1. You should see the green LED4 MIO7 turn on. If the light does not turn on, then check these these things:
* The Throttle is low
* The flap is set to 1
* The proper start-up sequence was not followed. Power down everything and unplug the battery, and start booting over.
2. Continue following steps in either the Manual Mode or Autonomous Mode
### Autonomous Mode
1. Find somebody else to be running the transmitter, so they can take control in case bad things happen:
* Scenario 1: Quad is being silly, and it needs to take a time out. Switch Flap back to 1, and fly/land it in manual mode.
* Scenario 2: Quad is actively attacking itself or others. Cut off all motors by turning the Gear switch to 0.
2. Turn the Flap switch to 0 to turn the quadcopter into autonomous mode.
3. From the upper-left corner, click "Scripts", and from the drop-down menu, run the `take_off.sh` script.
4. Waypoints can be set from the "Navigation" tab, waypoint files can be loaded, etc. See the Ground Station GUI README to find out more.
5. Land the quadcopter by running the`touch_down.sh` script from the Scripts drop-down.
### Manual Mode
2. Start flying the quad. Below is a summary of how the manual controls work.
